Few things are more important when it comes to home improvement projects than a properly installed roof. It’s not only a protective covering over your head but also acts as your primary defense against all types of weather conditions. A well-installed roof can increase your home’s lifespan, improve energy efficiency, and enhance the curb appeal of your property. Whether you’re a handy DIYer or looking to understand the process before hiring professionals, this comprehensive step-by-step guide will walk you through how to install a roof correctly. Let’s dive right in!
1. Preparation and Planning
Proper preparation and planning are crucial before you start tearing off old shingles or laying down new roofing materials. This ensures the project runs smoothly and that all necessary materials and tools are available on-site.
Assessing Your Roof
The first step in roof installation is conducting a thorough roof inspection to identify any major issues.
- Determine the Roofing Material: Identify the current roofing material and decide if you want to use the same type or switch to a different one.
- Assess the Roof Structure: Check whether your roof is flat or sloped, as this will influence material selection and installation techniques.
- Identify Existing Problems: Look for signs of leaks, mold, or structural problems that may need to be addressed before installation.
Understanding these aspects will help you decide whether a complete roof replacement is necessary or if simple repairs will suffice.
Choosing the Right Materials
Selecting the appropriate roofing materials is vital for both aesthetic appeal and durability.
- Asphalt Shingles: Popular for their affordability and durability, suitable for various climates.
- Metal Roofing: Offers longevity (over 50 years) and energy efficiency, ideal for modern designs.
- Clay or Concrete Tiles: Provide excellent durability and a distinctive look but require strong structural support due to their weight.
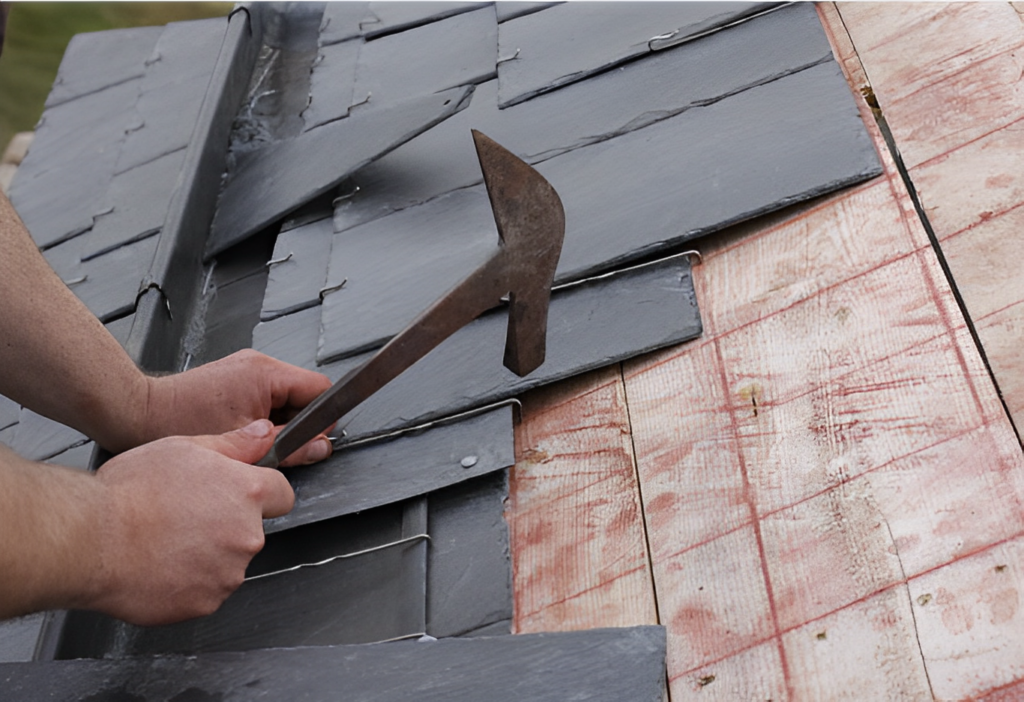
- Slate Roofing: Highly durable and aesthetically pleasing but can be expensive.
Consider your budget, local climate, and the architectural style of your home when choosing materials. For more information on roofing materials, check out our article on Top 10 Roofing Materials for Your Home.
Gathering Tools and Materials
Having the right tools and materials on hand is essential for a successful roof installation. Here’s a checklist to get you started:
- Tools:
- Hammer or nail gun
- Pry bar
- Chalk line
- Utility knife
- Safety harness
- Ladder
- Materials:
- Roofing nails
- Roofing felt (underlayment)
- Drip edge
- Chosen roofing material (e.g., shingles)
- Ice and water shield (for colder climates)
- Roofing cement
Ensure all these items are readily available before beginning the installation process.
2. Tearing Off the Old Roof
Removing the old roofing material is a critical step to ensure a smooth and durable installation of the new roof.
Safety First
Prioritize safety throughout the entire roof installation process.
- Protective Gear: Wear a helmet, safety glasses, gloves, and a safety harness to prevent injuries.
- Stable Ladder: Ensure your ladder is secure and placed on a stable surface.
- Weather Conditions: Choose a day with clear weather to reduce the risk of accidents.
- Assistance: If possible, have someone assist you during the removal process for added safety.
Removing Shingles
Follow these steps to effectively remove old shingles:
- Start at the Peak: Begin at the top of the roof and work your way down.
- Use a Pry Bar or Roofing Shovel: Slide the tool under the shingles and pry them up, removing nails and shingles simultaneously.
- Collect Debris: Let the debris fall onto a tarp placed around your home’s perimeter for easy cleanup.
- Dispose Properly: Rent a dumpster or arrange for proper disposal of old shingles and nails.

Inspecting the Decking
After removing all old materials, inspect the underlying roof decking for any signs of damage.
- Check for Rot or Damage: Look for soft spots, rot, or water damage in the decking.
- Replace Damaged Sections: Any compromised wood should be replaced to ensure a solid foundation for the new roof.
- Ensure Dryness: Make sure the decking is completely dry before proceeding to the next step.
Proper inspection and repair of the decking are essential for the longevity and integrity of your new roof.
3. Installing the Drip Edge
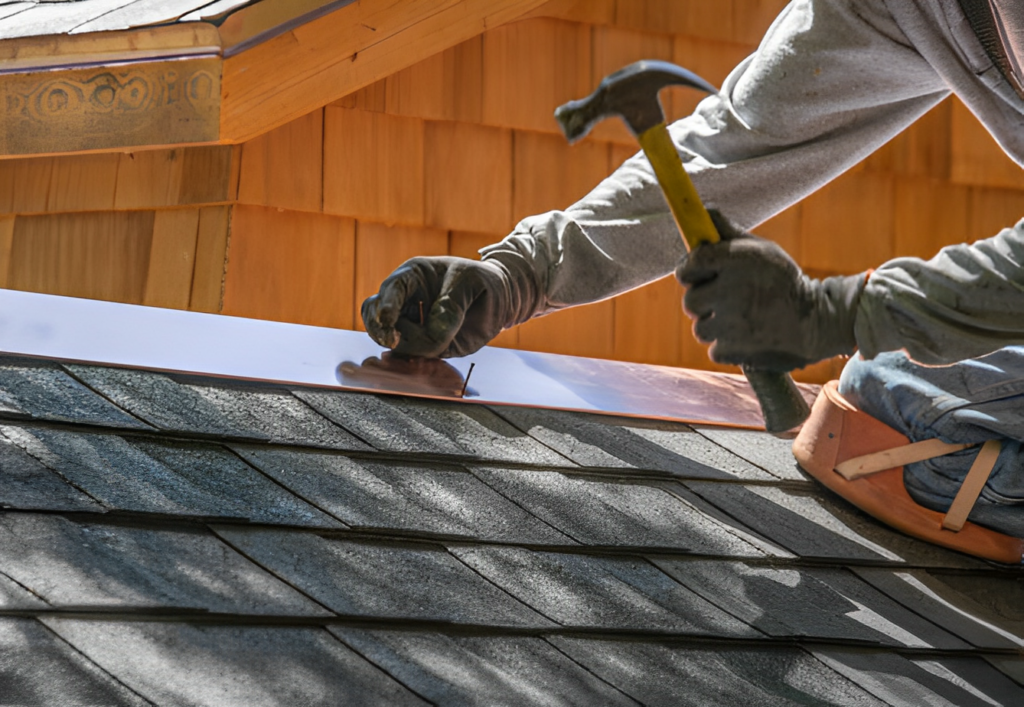
The drip edge is a metal flashing installed at the roof’s edges to direct water away from the fascia and into the gutters, preventing water damage.
Starting at the Bottom
Follow these steps to install the drip edge correctly:
- Install Along the Eaves: Begin at the lower edges (eaves) of the roof. Place the drip edge flush against the decking and secure it with roofing nails spaced about 12 inches apart.
- Overlap Sections: When joining two pieces, overlap them by at least 2 inches to ensure water flows smoothly off the roof.
- Install Along the Rakes: After completing the eaves, install the drip edge along the gable ends (rakes) of the roof in a similar fashion.
Correct installation of the drip edge is crucial for effective water management and protecting the underlying structure from moisture damage.
4. Laying Down the Underlayment
The roofing underlayment acts as a secondary barrier against water infiltration, providing additional protection for your home.
Rolling Out the Felt
Here’s how to properly install the underlayment:
- Start at the Bottom Edge: Begin at the lowest point of the roof and work your way upwards.
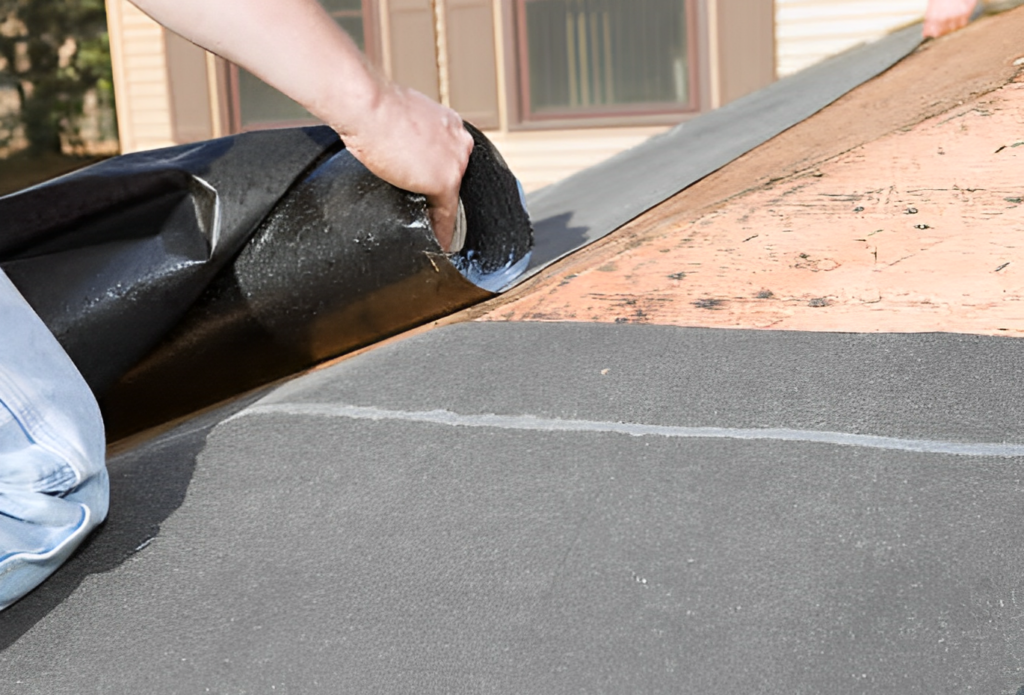
- Roll Out Smoothly: Unroll the roofing felt horizontally across the roof, ensuring it lays flat without wrinkles or bubbles.
- Secure in Place: Use roofing nails or staples to secure the underlayment, spacing fasteners about 6 inches apart along the edges and 12 inches apart in the field.
- Overlap Each Layer: Overlap each subsequent layer by at least 4 inches to ensure complete coverage and prevent water seepage.
- Cover Entire Roof: Continue this process until the entire roof decking is covered.
Ice and Water Shield Installation
In colder climates, installing an ice and water shield provides extra protection against ice dams and wind-driven rain.
- Apply at Vulnerable Areas: Install the shield along eaves, valleys, and around penetrations like chimneys and vents.
- Self-Adhesive Material: Peel off the backing and press the material directly onto the roof decking, ensuring a tight seal.
- Overlap Edges: Overlap edges by at least 6 inches for maximum protection.
Image Alt Tag: “Ice and water shield installed along roof eaves for added protection.”
Using an ice and water shield is essential for preventing leaks and water damage during harsh weather conditions.
5. Installing the Roofing Material
With the underlayment in place, it’s time to install your chosen roofing material, such as asphalt shingles.
Starting at the Bottom Edge
Follow these steps for proper shingle installation:
- Begin with Starter Strip Shingles: Install starter shingles along the eaves to provide a waterproof barrier and improve wind resistance.
- Align with Chalk Line: Use a chalk line to ensure the first row of shingles is straight and properly aligned.
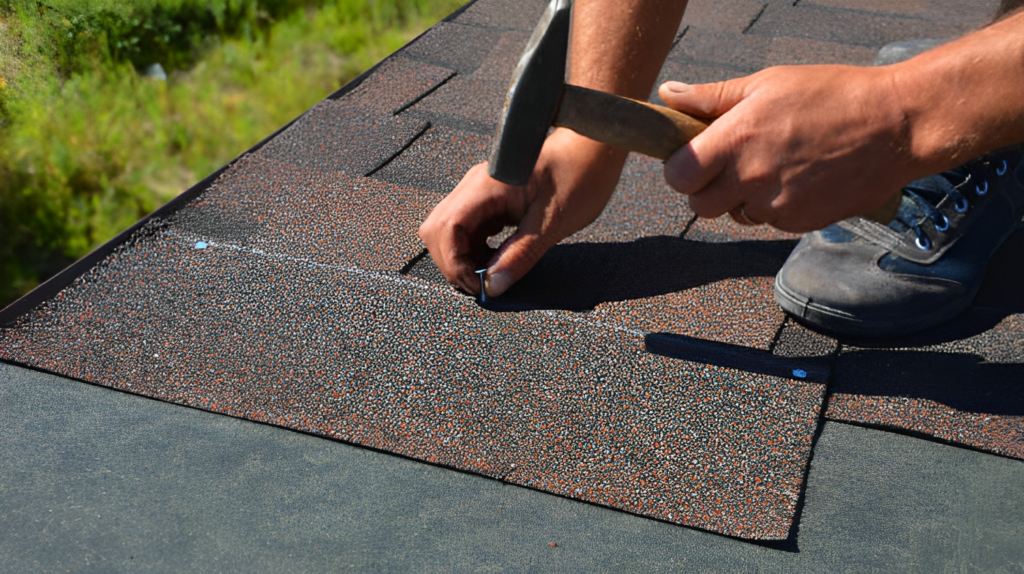
- Nail Correctly: Secure each shingle with appropriate roofing nails, typically four to six per shingle, depending on manufacturer recommendations and local codes.
- Maintain Proper Overhang: Allow for a 1/2 inch to 3/4 inch overhang past the drip edge to direct water into the gutters.

Working Your Way Up
Continue installing shingles up the roof:
- Stagger the Shingles: Offset each row so that seams do not line up, enhancing the roof’s water-shedding capabilities and appearance.
- Ensure Proper Overlap: Each shingle should overlap the one below it according to manufacturer specifications, usually around 5 inches.
- Check Alignment: Periodically check alignment with a chalk line to maintain straight rows.
- Cut Shingles as Needed: Trim shingles at edges and around roof penetrations for a precise fit.
Installing Ridge Cap Shingles
Finish the installation by adding ridge cap shingles along the roof’s peak.
- Prepare Ridge Caps: Use pre-cut ridge cap shingles or cut standard shingles into appropriate sizes.
- Start at One End: Begin at the end opposite the prevailing wind direction to prevent wind uplift.
- Overlap Properly: Each ridge cap should overlap the previous one by about 5 inches.
- Secure with Nails: Use roofing nails to secure each cap, ensuring nails are covered by the next shingle for a clean look.
- Seal the Final Cap: Apply roofing cement under the last cap to secure it firmly.
Proper installation of ridge cap shingles ensures effective ventilation and completes the roof’s aesthetic appearance.
6. Flashing and Ventilation
Effective flashing and ventilation are essential for preventing leaks and prolonging the life of your roof.
Installing Flashing
Flashing protects vulnerable areas of the roof from water intrusion.
- Around Roof Penetrations: Install metal flashing around chimneys, vents, skylights, and valleys.
- Under and Over Shingles: Place flashing pieces under the shingles above the penetration and over the shingles below to direct water away.
- Secure and Seal: Nail flashing securely and apply roofing cement around edges to seal any gaps.
- Step Flashing: Use step flashing along walls and dormers, overlapping each piece as you move up the roof.
Adding Ventilation
Proper roof ventilation helps regulate attic temperature and moisture levels, extending the roof’s lifespan.
- Install Ridge Vents: Place continuous ridge vents along the roof peak to allow hot air to escape from the attic.
- Add Soffit Vents: Install soffit vents under the eaves to allow cool air to enter the attic space.
- Ensure Balanced Airflow: Proper ventilation requires a balance between intake (soffit) and exhaust (ridge) vents.
- Follow Manufacturer Guidelines: Adhere to specific installation instructions for different vent types to ensure effectiveness.
Effective ventilation reduces energy costs and prevents issues like mold growth and premature roof deterioration.
7. Final Inspection and Cleanup
After completing the installation, conduct a thorough inspection and cleanup to ensure quality and safety.
Inspecting for Issues
- Check Shingle Installation: Look for loose or misaligned shingles and ensure all nails are properly secured.
- Examine Flashing and Seals: Verify that all flashing is correctly installed and sealed without gaps.
- Inspect from Inside: Go into the attic to check for any light leaks or signs of improper installation.
- Test Ventilation: Ensure vents are unobstructed and functioning correctly.
- Address Any Problems: Promptly fix any issues found during inspection to prevent future complications.
Cleaning Up
- Remove Debris: Collect and dispose of all leftover materials, nails, and debris from the roof and surrounding area.
- Use Magnetic Sweepers: Employ magnetic tools to pick up stray nails from the ground, ensuring safety.
- Dispose Responsibly: Follow local regulations for disposing of construction waste and recycling materials when possible.
- Inspect Gutters: Clear out any debris that may have accumulated in the gutters during installation.
- Final Walkthrough: Do a final walkthrough around the property to ensure cleanliness and satisfaction with the work done.
A thorough cleanup leaves your property safe and enhances the satisfaction with your newly installed roof.
Conclusion
Installing a roof is a significant undertaking that requires careful planning, attention to detail, and adherence to safety protocols. Whether you choose to tackle this roof installation yourself or hire professionals, understanding each step of the process ensures that your home is protected by a durable and efficient roofing system for years to come.
Remember, investing time and resources into proper roof installation not only safeguards your home but also enhances its value and energy efficiency. Should you need further assistance or professional services, don’t hesitate to contact us for expert advice and support.
Did you find this guide helpful? Share it with others and explore more of our home improvement articles for additional tips and insights!


